Getting Started
This page walks through everything from installing the app to reviewing your first video.
Installing
The app is distributed as a standalone executable for Linux, Windows, and macOS — no Python install required. Download the build for your platform from the project's Releases page and run it.
There's nothing to install beyond the executable itself: the database, your settings, and automatic backups are all stored in a per-user data folder the app manages for you.
ffmpeg
The app needs ffmpeg for video playback, thumbnails, and reading video metadata. It's a free, one-time install and isn't bundled with the app, so you'll need to add it once. The setup wizard checks for it and shows Installed when it's ready.
Windows
- Open a terminal (PowerShell). Click the Start menu, type
powershell, and click Windows PowerShell. (Or press Win + R, typepowershell, and press Enter.) -
Install ffmpeg by running:
winget install ffmpeg -
Close the terminal and open a new one, then confirm it worked:
ffmpeg -versionIf you see a version banner, you're done.
macOS / Linux
- macOS:
brew install ffmpeg(install Homebrew first if needed) - Linux:
sudo apt install ffmpeg(or your distribution's package manager)
If you install ffmpeg while the setup wizard is already open, restart the app so it re-checks, then continue once the status reads Installed.
First run
On a fresh install there's no database yet, so the app guides you through a short one-time setup before you reach the main interface.
1. Tell the app who you are
The first screen asks for your name. Every annotation you make is tagged with this name, which is what lets a team split work and track who reviewed what.
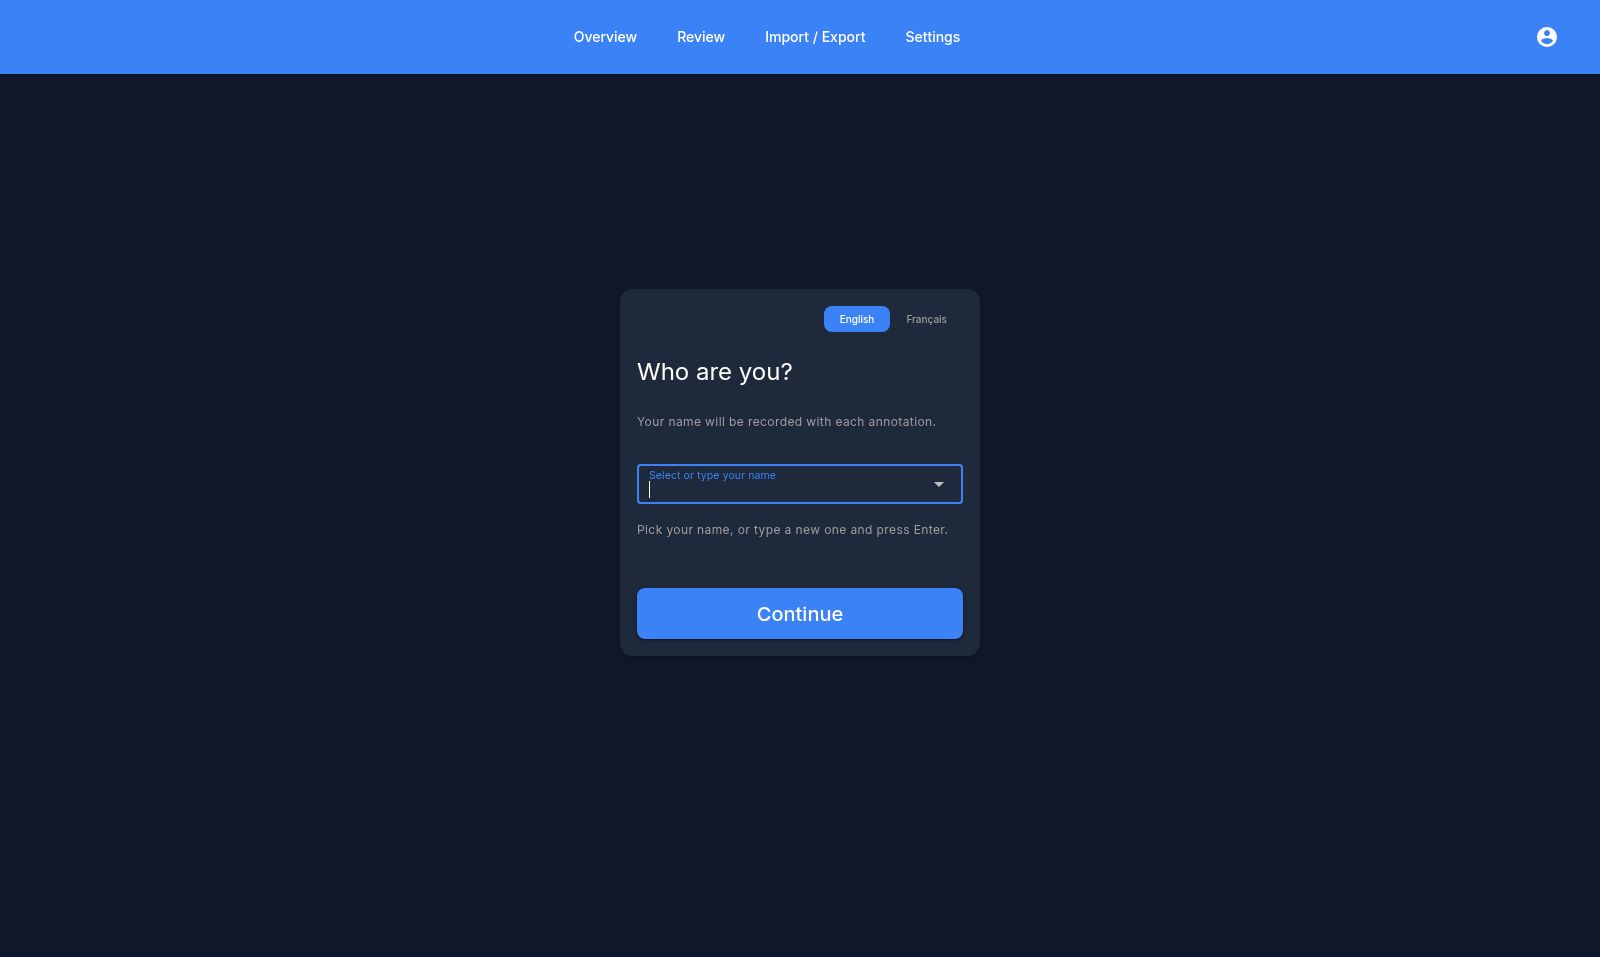
Pick your name from the dropdown if it's already there, or type a new one and press Enter. You can also switch the interface language (English / Français) from the toggle in the top-right — this choice is remembered and can be changed later in Settings. Click Continue.
Note
This name identifies you as an annotator; it isn't a password-protected account. On a shared machine, each person simply selects their own name. You can switch names later from the account menu in the top-right of the header.
2. Welcome & system check
Next, the setup wizard opens. The first step confirms your language and checks that ffmpeg is available.
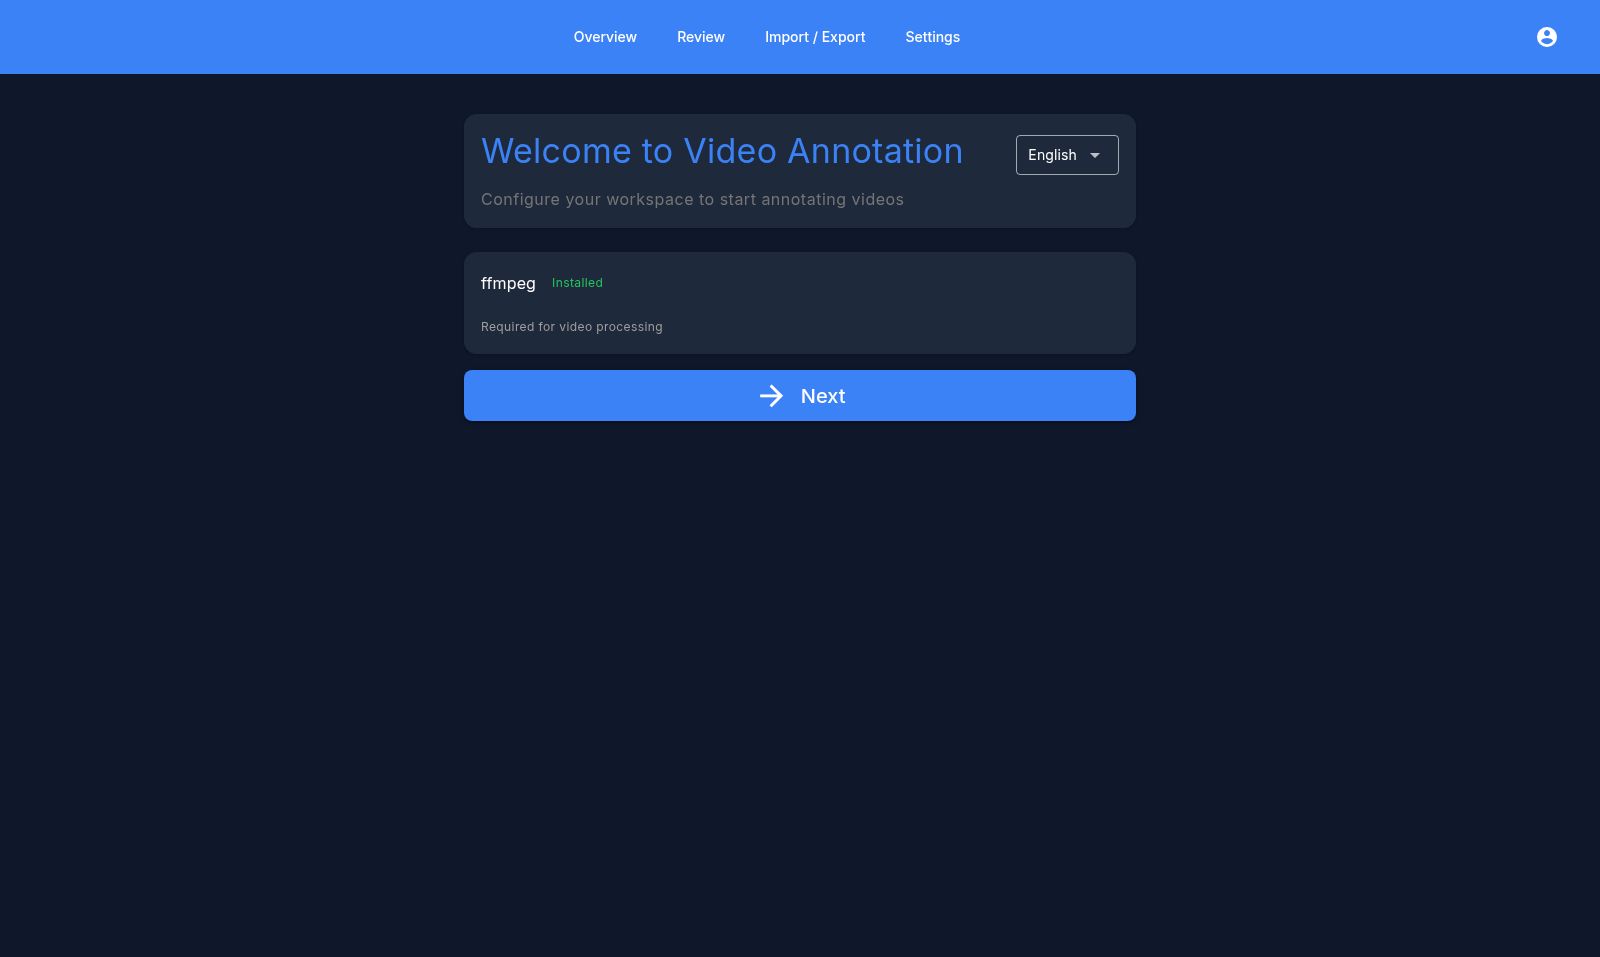
Once ffmpeg shows Installed, click Next.
3. Fresh start or restore
The wizard then asks how you'd like to begin:
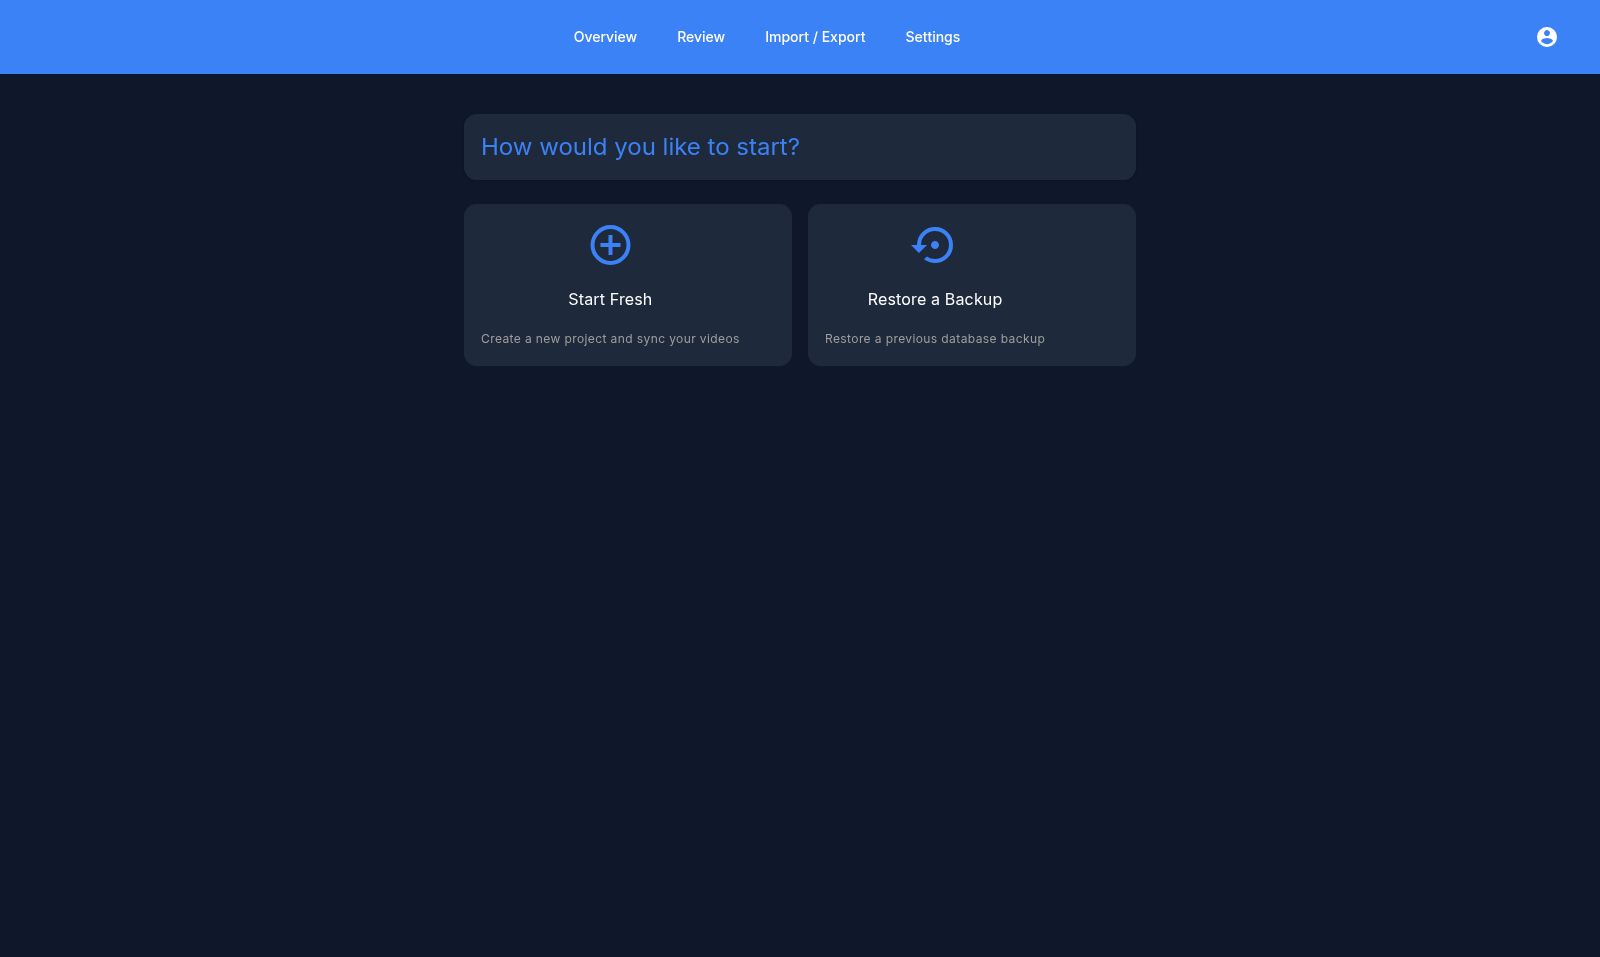
- Start Fresh — create a brand-new database and set up your first project. Choose this the first time you use the app.
- Restore a Backup — load a previously exported
.dbbackup file. Use this to move your work to a new computer, or to recover after reinstalling. You'll be shown any backups the app already has, and can also upload a.dbfile.
4. Create your first project
Choosing Start Fresh brings you to project creation. A project is a name paired with a folder of camera-trap videos on disk (more on projects below). There are two tabs:
Set up manually — point the app at a folder of videos:
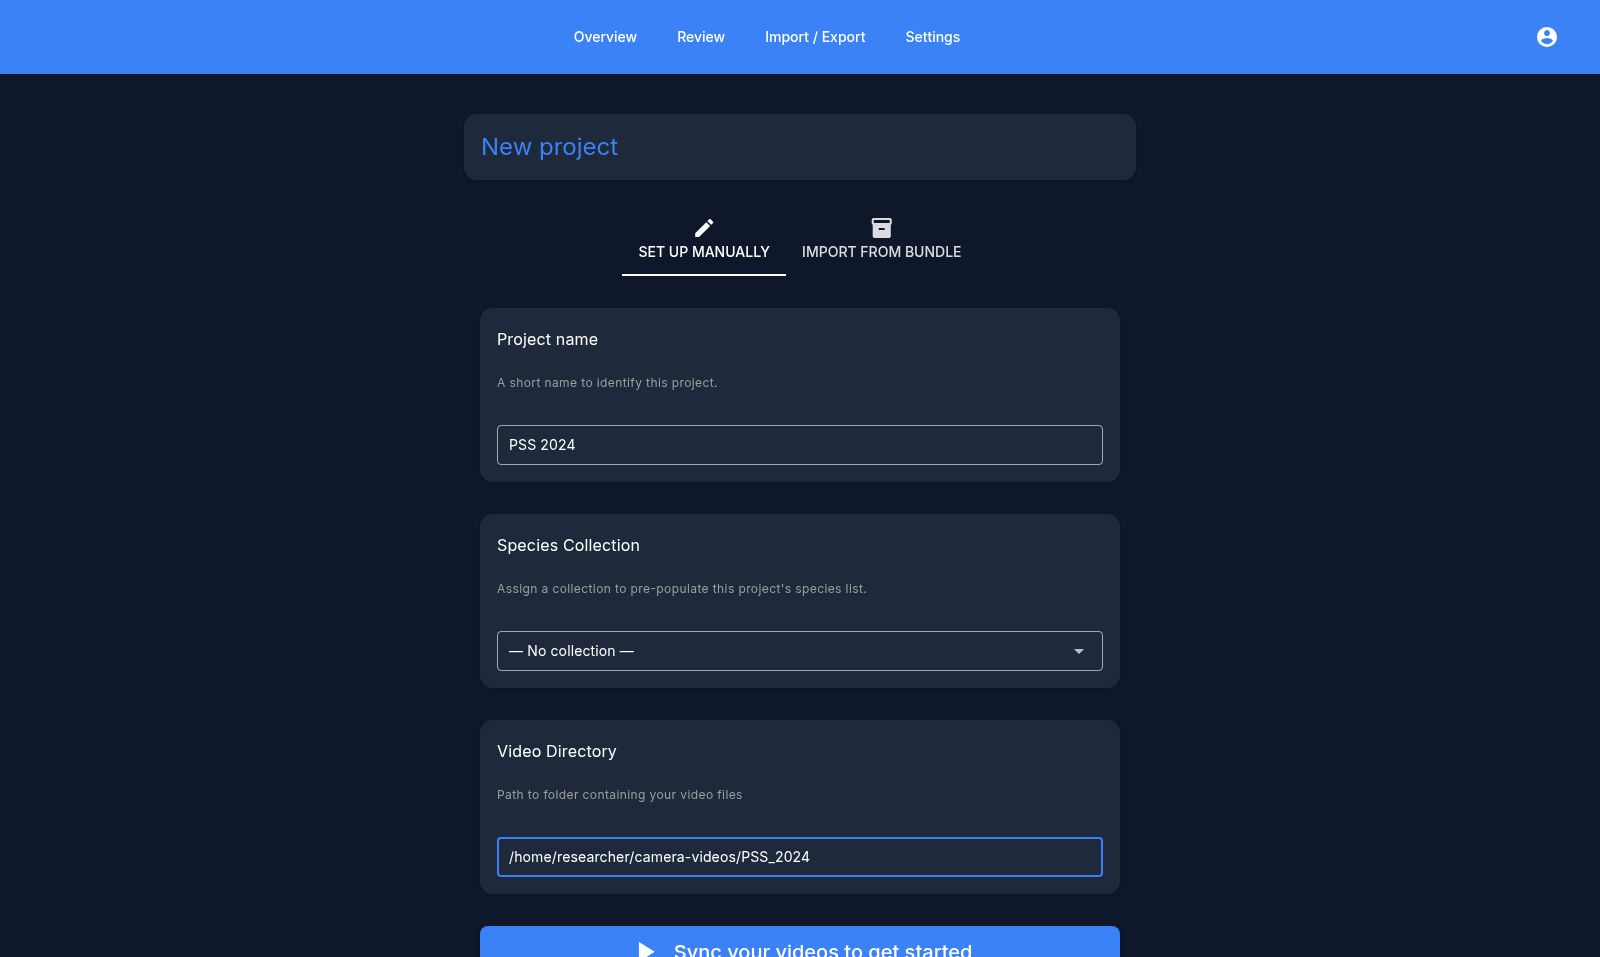
- Project name — a short label, e.g.
PSS 2024. - Species Collection (optional) — pre-populate the project's species list from a saved collection. Leave as No collection if you're unsure; you can set up species later.
- Video Directory — the full path to the folder containing your videos. The app scans it recursively.
- Click Sync your videos to get started. The app scans the folder, registers every video it finds, and reads basic metadata (duration, and timestamp/GPS where available).
Import from bundle — if a colleague prepared a project bundle for you:
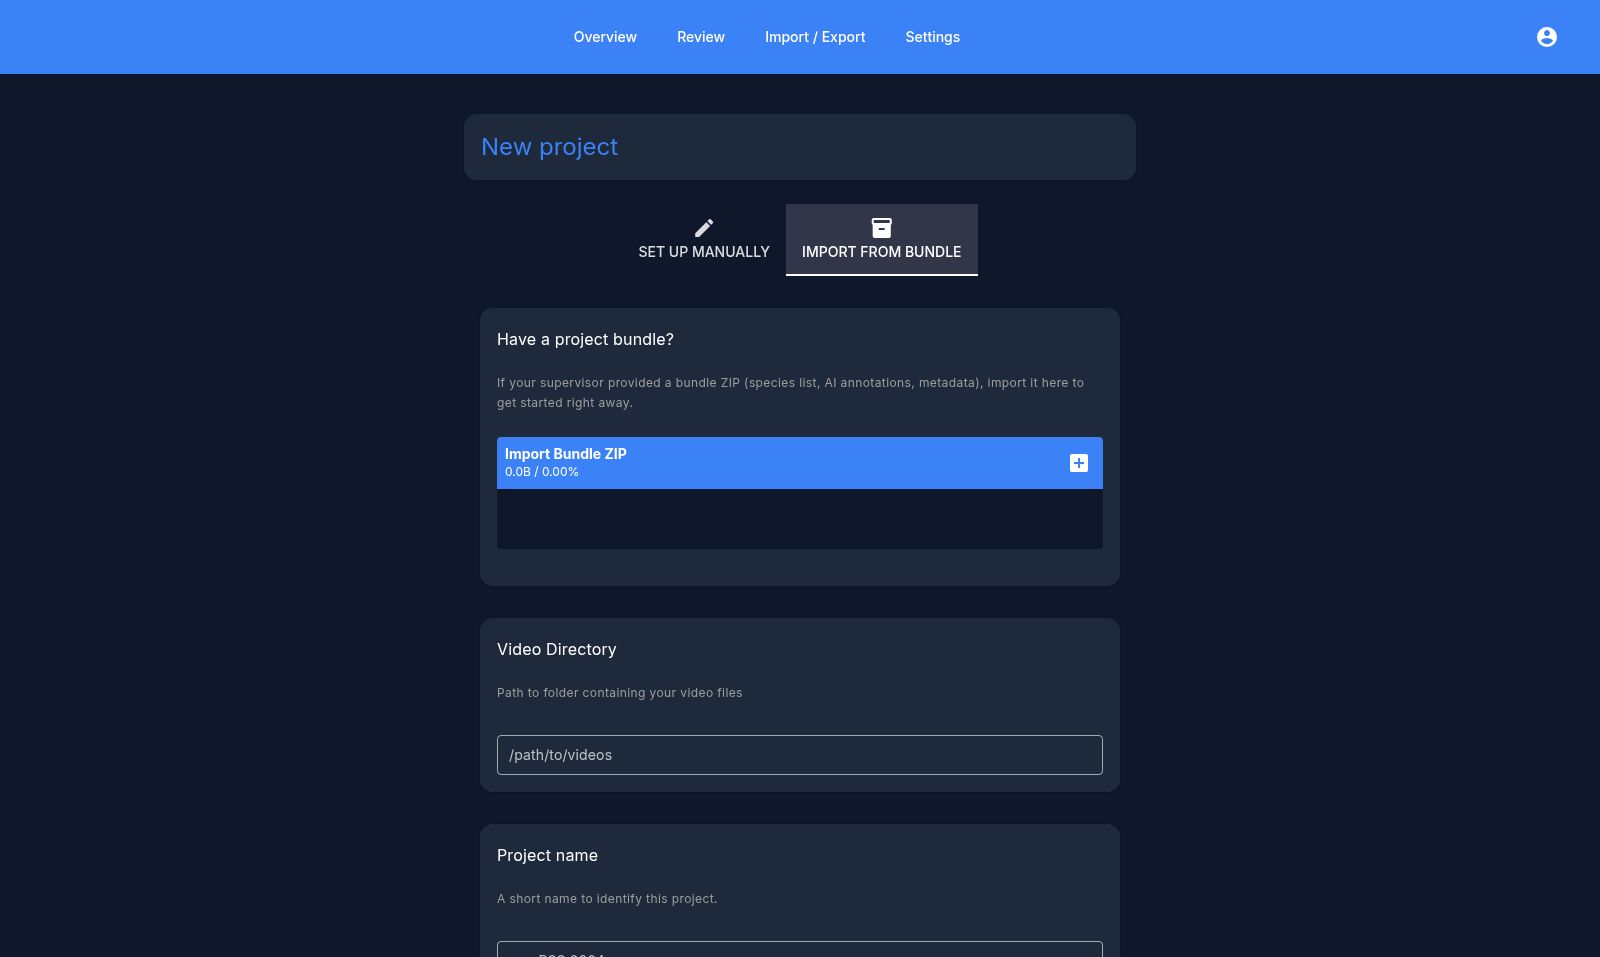
Upload the .zip bundle (it can contain a species list, tags, AI annotations, and metadata), point the Video Directory at your local copy of the footage, give the project a name, and the app imports everything in one step. This is the recommended way to distribute a ready-to-review project across multiple annotators — see Importing model results and Exporting annotations for how bundles are produced.
After the sync finishes, the wizard offers to jump straight to Importing model results or to open the Dashboard.
What a project is
A project is just a name + a video folder. The app scans that folder recursively and registers every video it finds. Supported formats: mp4, avi, mov, mkv, webm, wmv, flv, m4v.
You can keep multiple projects in one database and switch between them from the dropdown at the left of the header. To add more projects later, use the project switcher or Settings.
Note
Cameras don't need to be configured separately — each video's camera ID is inferred automatically from your folder structure during the sync. Organising footage as .../CAM01/clip.mp4, .../CAM02/clip.mp4 is enough for the per-camera stats and work distribution to work.
If you add or remove files on disk later, re-run the scan from Settings → Video directory → Sync videos to pick up the changes.
Initial setup
Once a project exists, the main thing to configure before reviewing is the species list — only enabled species appear in the annotation controls:
- Go to Settings → Advanced Settings → Project species and enable the species relevant to your project from the global catalog, or add custom ones. (If you imported a bundle or chose a species collection, this may already be populated.)
You may also want to tune the confidence thresholds that decide how AI predictions are displayed — blank-detection, species, and object-detection thresholds — under Settings → Advanced Settings → Blank detection. See the Settings page for the full reference.
Your first review
The first time you open the Review screen, a short guided tour points out the video player, the queue, the filters, and the annotation controls.
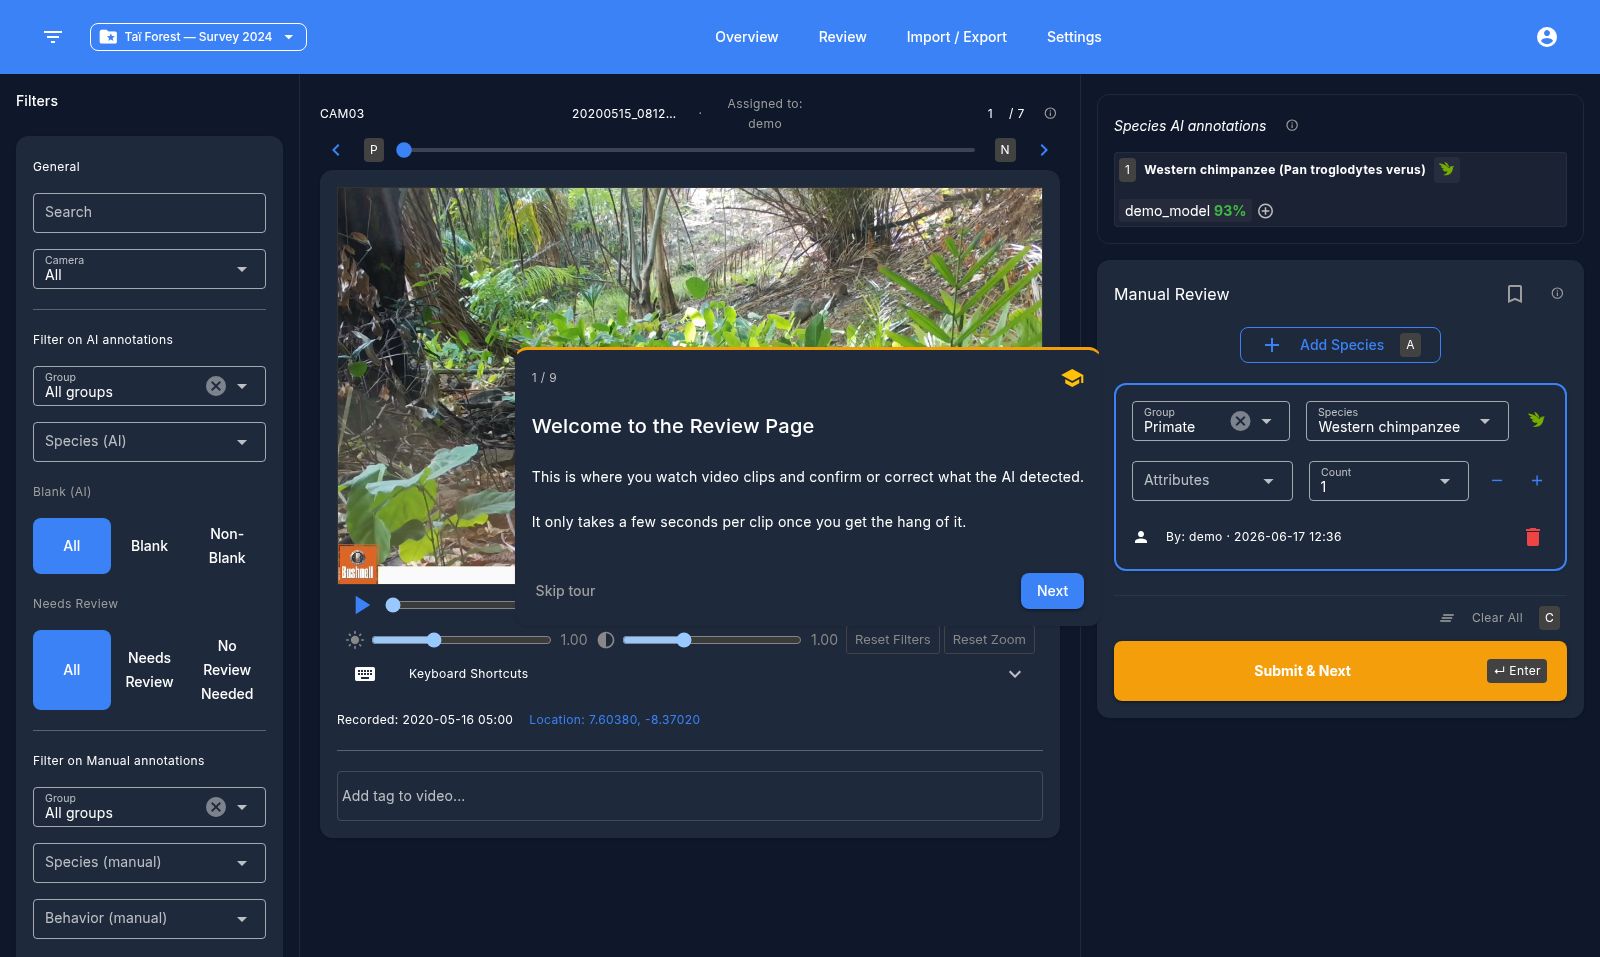
Step through it with Next, or click Skip tour to dismiss it — either way it won't show again. From here you're ready to start annotating; see Reviewing videos for the full walkthrough.
Next: Dashboard